

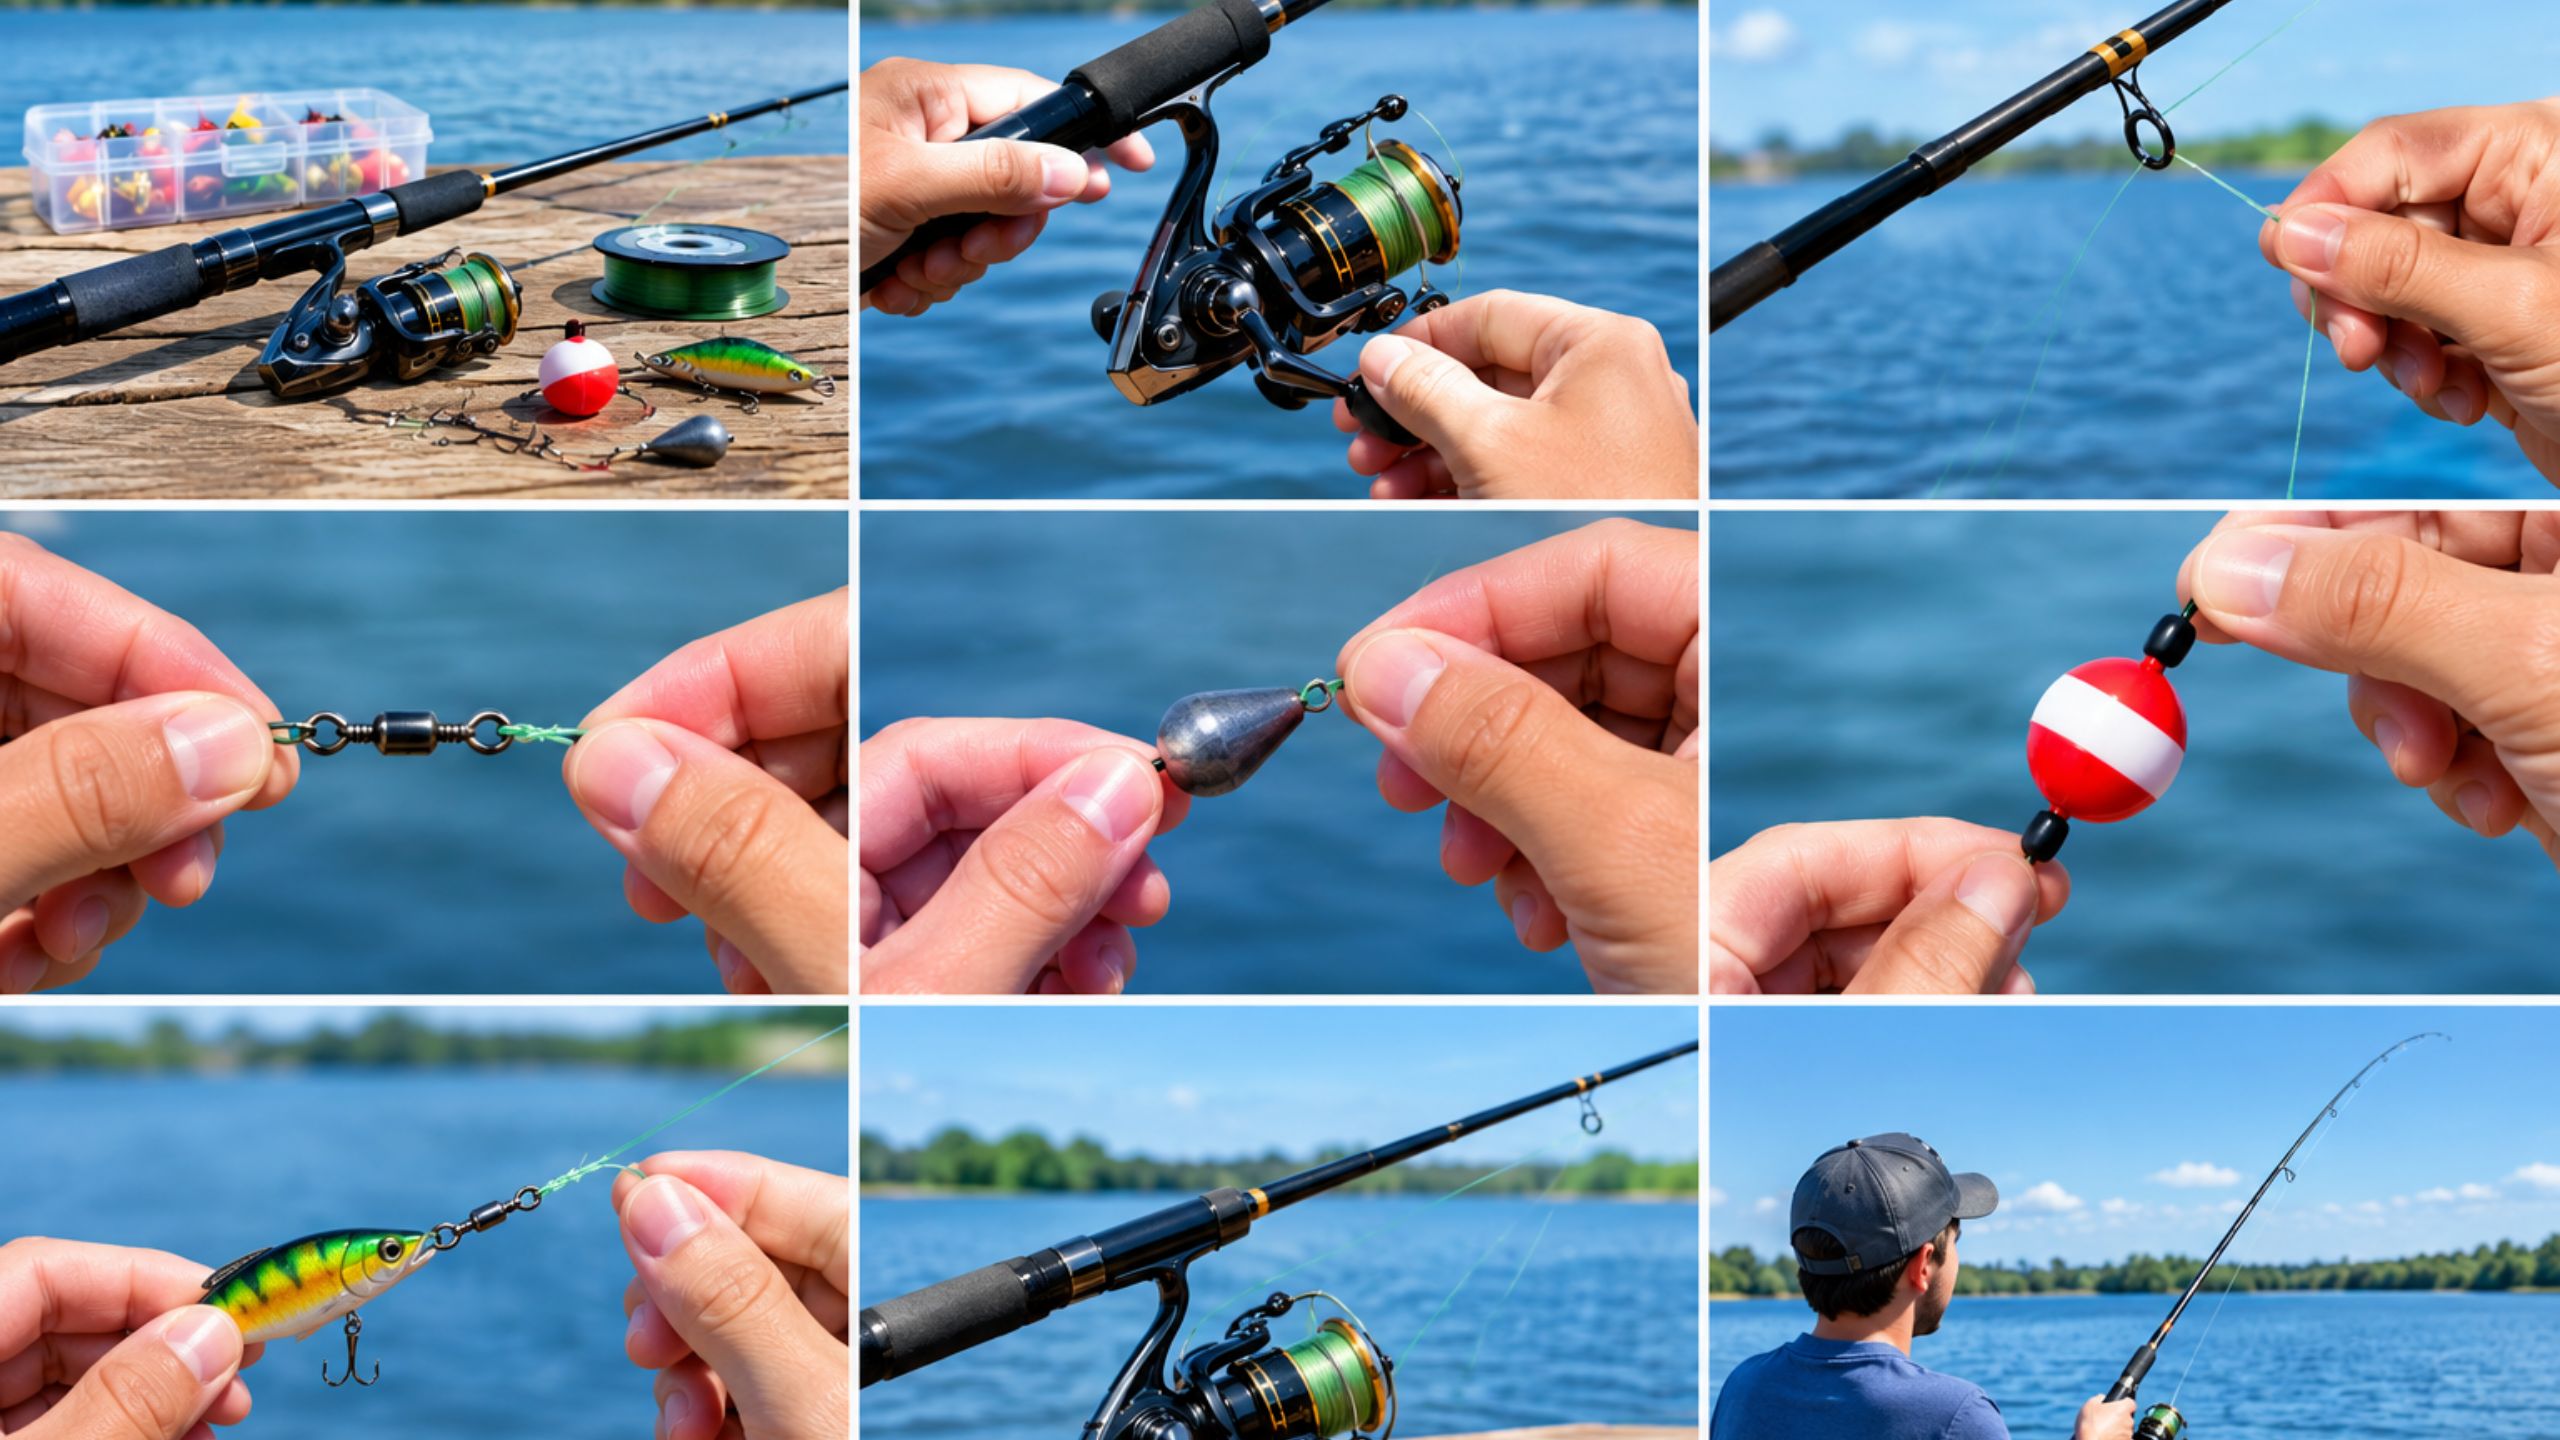
To set up a fishing pole, put the rod together, attach the reel, spool it with line that matches the rod’s rating, thread the line through the guides, tie on a hook, add a split shot and bobber if you want one, and set the drag. Most beginners can finish in about 15 minutes. If your combo came pre-spooled, you can skip the spooling step.
The 8 Steps
- Put the rod together
- Attach the reel
- Pick line that matches the rod’s rating
- Spool the reel (arbor knot)
- Thread the line through the guides
- Tie on the hook (improved clinch knot)
- Add a split shot and bobber
- Set the drag, then test it
Before You Start
What You Need
- A rod and reel (a combo is fine)
- Fishing line
- A hook (a size #6 baitholder hook is a common beginner pick for small freshwater fish)
- A few split shot weights
- A bobber (optional)
- Fishing pliers or nail clippers to trim line
Is Your Pole Already Strung? The Pre-Spooled Shortcut
Many combos come with lines already on the reel. MassWildlife notes that most modern rod and reel combos arrive with matching line rated for that rod.
If yours is pre-spooled, start at Step 5. Check that the line looks clean and flexible. Old line left in storage can become weak, and MassWildlife points out that monofilament has a limited shelf life depending on use and storage. If it’s stiff, curly or faded, plan to respool.
Rod vs. Pole: Does the Word Matter?
A fishing “pole” and a fishing “rod” are the same thing in everyday use. Anglers usually say “rod” and non-anglers say “pole.” The word you use changes nothing about the setup.
Which Kind of Reel Do You Have?
Your setup changes slightly depending on your reel. Check yours first.
| Reel type | How to spot it | Beginner-friendly? |
| Spinning | Hangs under the rod. A metal arm called the bail flips open and closed. | Yes, the most common choice |
| Spincast | Closed cover over the front. A push button on the back releases the line. | Yes, very easy for kids and first-timers |
| Baitcasting | Sits on top of the rod. Open the spool with a thumb-release bar. | Not for day one, because it tangles easily |
This guide follows the spinning reel, since it’s the most common. Spincast owners can follow the same steps. You’ll just feed the line through the front hole instead of working a bail.
Fly rod? Fly setups work differently (backing, fly line, tapered leader). This guide won’t cover them.
Step 1: Put the Rod Together
Many rods come in two pieces. Some are one piece, and a few have more than two.
- Hold the thicker bottom piece (the butt section) in one hand.
- Line up the guides (the little rings that hold the line) on both pieces so they form one straight line.
- Push the pieces together with a gentle twist until they feel snug.
Hold the rod by the blank (the pole itself) when you push, not by the guides. Guides are delicate and bend easily.
Quick check: Give the joint a gentle tug. It should feel snug, not wobbly. A half-seated joint is one reason rods come apart mid-cast.
Step 2: Attach the Reel
Look for the reel seat, the metal or plastic section just above the handle.
- Loosen the locking ring.
- Slide the reel foot (the small stem on the reel) into the seat.
- Tighten the ring until the reel feels firm, with no wobble.
For a spinning reel, the reel should hang underneath the rod. Most reel handles can be switched to the left or right side. Pick whichever lets you reel with your non-dominant hand while your dominant hand holds the rod. That’s a matter of comfort, so choose what feels natural.
Step 3: Pick Line That Matches Your Rod’s Rating
Most rods have a printed line rating near the handle, such as “6–10 lb.” That’s the range of line strength the rod is built to handle.
MassWildlife’s guidance is to choose a line that matches the rod’s rating and generally fits the size of the fish you expect to catch. Their example: if your rod is rated 6–10 lb and you’re fishing freshwater species like bass, use 6–10 lb test line.
Which line type should you pick?
| Line type | Best for | Trade-off |
| Monofilament (mono) | Beginners, all-around use | Stretchy; may weaken with age |
| Braid | Long casts, sensitivity | Needs a leader; can slip on a slick spool |
| Fluorocarbon | Clear water, leaders | Stiffer and costs more |
For your first setup, choose mono. FishingBooker’s beginner guide recommends mono because it’s tough against abrasion, easy to knot, and absorbs sudden jolts from a fighting fish. One of its reasons is shock resistance. A forgiving line makes mistakes cheaper.
Step 4: Spool the Reel and Tie the Arbor Knot
Skip this step if your reel is pre-spooled.
Spooling means winding new lines onto the reel. Do it carefully, because this is where most line twists begin.
- Open the bail by flipping the metal arm up.
- Thread the line through the first guide (the one nearest the reel). This saves you a step later.
- Tie an arbor knot to attach the line to the spool:
- Wrap the line around the spool once.
- Tie an overhand knot around the standing line (the part running back to the supply spool).
- Tie a second small overhand knot in the loose end as a stopper.
- Moisten the knot, then pull the standing line so the first knot slides down and the stopper locks against it.
- Trim the tail.
- Close the bail by hand. Don’t snap it shut by turning the handle, which can add twist.
- Reel with light tension. Pinch the line gently between your fingers against the rod as you turn the handle. Steady pressure packs the line on tightly.
- Watch the supply spool. Lay the spool on the floor with the label up, and every 20–30 turns, check for loops or coils. If coils form, flip the supply spool over.
- Stop filling about 1/8 inch below the lip of the spool. The Bear Essentials guide warns that overfilling causes loose coils, and underfilling costs casting distance.
Wet your knots before you tighten them. Moisture reduces friction heat, which can weaken lines.
Step 5: Thread the Line Through the Guides
This is the step beginner guides tend to skip. It’s also where people accidentally snap rod tips.
- Open the bail.
- Pull out a few feet of line.
- Starting at the guide nearest the reel and working toward the tip, pass the line through every guide.
- Pull out about 6 inches past the last guide.
A trick that saves rod tips: An experienced guide writing for Fulling Mill advises holding the rod midway along the blank while threading the line, rather than gripping the tip and pulling line down. Pressure on the tip can break it. His advice comes from fly fishing, but the physics apply to any rod.
Check: Look down the rod. The line should run through every guide with no skips. A missed guide is easy to overlook and will cause trouble on your first cast.
Step 6: Tie On the Hook (Improved Clinch Knot)
The improved clinch knot is one of the most common beginner knots for attaching a hook, swivel or lure. MassWildlife recommends starting with the clinch knot because it’s easy to learn and one of the strongest options for tying a line to a hook. You can also use a Uni knot (FishingBooker’s pick) or a Palomar knot (strong and easy).
How to tie it:
- Thread the line through the eye (the loop) of the hook, leaving a tail about 6–8 inches long.
- Wrap the tail around the standing line 5–7 times.
- Pass the tail through the small loop right above the eye.
- For the “improved” step, pass the tail back through the big loop you just made.
- Moisten the knot, then pull the main line while the coils slide down to the eye.
- Trim the tail.
Which knot should you learn first?
| Knot | Used for | Difficulty |
| Arbor | Tying line to the reel spool | Easy |
| Improved clinch | Hooks, swivels, small lures | Easy |
| Palomar | Hooks; strong and reliable | Easy to moderate |
| Uni | Hooks and lures; FishingBooker’s one-knot pick | Easy |
Practice at home before you go. A few minutes with a spare piece of line on your couch beats fumbling at the water’s edge.
Step 7: Add a Split Shot and Bobber
A bobber (also called a float) keeps your bait at the right depth and shows you when a fish bites. A split shot is a small weight you pinch onto the line.
A basic fixed-bobber rig, from the hook up:
- Hook tied on.
- Pinch a split shot about 8–12 inches above the hook. Use pliers, not your teeth.
- Clip the bobber on 1–3 feet above the hook (go deeper later as you learn where fish are).
- Put on bait.
Check your bobber: It should sit upright in the water. If it lies flat, add a bit more weight or the water is too shallow for that depth.
Slip bobbers let you fish deeper while still casting easily, because the float slides along the line until it reaches a stop knot. They suit anglers who’ve mastered the basics, so start with a fixed bobber.
Step 8: Set the Drag
The drag is a built-in brake on the reel. It lets a fish pull the line out so the line doesn’t snap.
Where is it? On a spinning reel it’s usually a knob on top of the spool (or on the back).
How tight should it be? Published rules of thumb vary. The Bear Essentials guide suggests about 25–30% of your line’s test strength, which means roughly 2.5 — 3 lb of pull for a 10 lb line. Other angling sites I came across suggest about one-third of the line’s breaking strength. That’s why I’d treat this as a starting range rather than a single magic number.
A hands-on test:
- Pull the line off the spool with your hand.
- It should come out smoothly, with steady resistance, not in jerks.
- Too tight can snap the line or pull the hook out. Too loose and the hook may never set properly.
Adjust as you learn. Fish size and line type change what feels right.
What’s the Right Way to Test Your Setup Before You Cast?
Run through this quick check:
- Reel feels firm on the rod
- Line runs through every guide
- Knot is trimmed and snug
- Bail closes by hand and the line feels smooth
- Drag releases without jerking
- Nothing is behind or above you (see Safety below)
Then make a short, gentle test cast at low power to confirm everything feels right. Save big casts for later.
Troubleshooting: Line Twist, Bird’s Nests and Loose Rods
| Problem | Likely cause | Fix |
| Loops or tangles (“bird’s nest”) | Overfilled spool or bail snapped shut with the handle | Strip off some line; close the bail by hand |
| Line twist | Spooling while the supply spool spins the wrong way | Flip the supply spool; use a swivel with spinning lures |
| Knot slipping | Dry knot or too few wraps | Wet the knot; add wraps or re-tie |
| Rod sections loosening | Joint not fully seated | Re-seat with a gentle twist |
| Line slipping on the reel | Poor arbor knot, especially with slick braid | Re-tie; use mono backing or tape under braid |
Safety and Etiquette Before Your First Cast
- Look behind and above you before every cast. Hooks hurt, and so do overhead power lines.
- Keep your hook covered when you’re moving around.
- Give other anglers space. Casting across someone else’s line is a quick way to make enemies.
- Pack out your trash, especially old lines, which can harm wildlife.
Do You Need a Fishing License?
In most cases, yes. Rules vary by state, your age and the type of water, and exceptions exist, such as free fishing days. FishingBooker’s beginner guide advises buying a license in your state of residence and reading the local regulations on legal limits, which can vary by state and sometimes by season.
Check with your state’s wildlife agency (search “[your state] fishing license”). Many allow online purchase in minutes.
My First Setup: Field Notes (add your real experience here)
Needs your input: This is the originality and E-E-A-T slot. Add 2–4 short paragraphs from a real, named angler: the first setup mistake they made, what they’d tell a friend, one photo of their own gear. I haven’t written this because it must come from a real person’s experience, not from me.
Suggested prompts for the author:
- What was your first tangle, and what fixed it?
- What’s the one thing you check before every trip?
- What would you buy again, and what would you skip?
The 5-Point Pre-Cast Check
A memorable, ownable checklist for your brand. Rename it however you like.
- Reel tight: no wobble in the reel seat
- Rating right: line matches the rod’s printed range
- Bail closed: closed by hand, line snug
- Knot wet: moistened and tightened, tail trimmed
- Drag smooth: pulls out evenly, no jerks
Five checks, 30 seconds, fewer headaches.
FAQ
How do you set up a fishing pole step by step?
Put the rod together, attach the reel, choose a line that matches the rod’s rating, spool the reel, thread the line through the guides, tie on a hook, add a split shot and bobber, then set the drag. A beginner can finish in about 15 minutes.
What order do you put a fishing pole together?
Assemble the rod sections first, then attach the reel, then spool it with line (if it isn’t pre-spooled), then thread the line through the guides from reel to tip. Hook and bobber go on last.
How do you put a line on a fishing reel?
Open the bail, tie the line to the spool with an arbor knot, close the bail by hand, then turn the handle while keeping light tension on the line. Stop about 1/8 inch below the spool’s lip.
What knot should a beginner use?
Learn the arbor knot to attach line to the reel and the improved clinch knot to attach a hook. MassWildlife recommends the clinch knot as a first hook knot, and FishingBooker suggests the Uni knot as an all-purpose beginner option.
How tight should the drag be?
Start with the drag set to roughly a quarter to a third of your line’s test strength, so about 2.5 — 3.3 lb of pull for a 10 lb line. Line should slip off the spool smoothly, not in jerks. Published rules of thumb vary, so adjust as you gain experience.
What’s the difference between a fishing pole and a fishing rod?
Nothing in practice. “Pole” is the everyday word and “rod” is what most anglers say. Both mean the same piece of gear.
